|
| Image by medithIT |
STEP 1 - Secure the Domain
Possibilities abound for securing a domain name, but I decided to go with the granddaddy, GoDaddy. My last name is unusual, so it was readily available. If you have a more common name, you may need to get creative - add your middle initial or name, or add "books" or "author" to your name.

STEP 2 - Do Some Research
I spent time studying other authors' websites. Many were built by website designers who, for a fee, can transform your vision into a technical reality. But in the end I decided that, a) the price was prohibitive for me, and b) I wanted the ability to change things on my website without incurring additional charges. That led me to...

I decided to look into Wordpress. Like GoDaddy, Wordpress is a platform with longevity and one that offers a lot of options for customization. It came recommended in many articles that I read about author websites.
STEP 4 - Procrastinate

*************
In January, 2017, I made another list of writing resolutions. The first resolution was to finish the resolutions I vowed to do in 2016. So, back to the website!
STEP 5 - Do Even More Research
Despite reading
STEP 6 - Throw a Tantrum

This may have involved tears, lots of self-deprecation about my small brain, a call to cancel the web hosting order, soothing (but unappreciated) words of comfort from my husband, and a large glass of wine.
STEP 7 - Phone a Friend
I called my son, who knows a few things about tech stuff.


STEP 8 - Pick a Winner!
I decided on weebly.
STEP 9 - Select a Theme
A theme forms the basic skeleton for how your website will look. My friend and fellow grogger, Christy Mihaly, has a weebly-built website that I really like, so I begged her to share the theme's name with me, and she generously did.

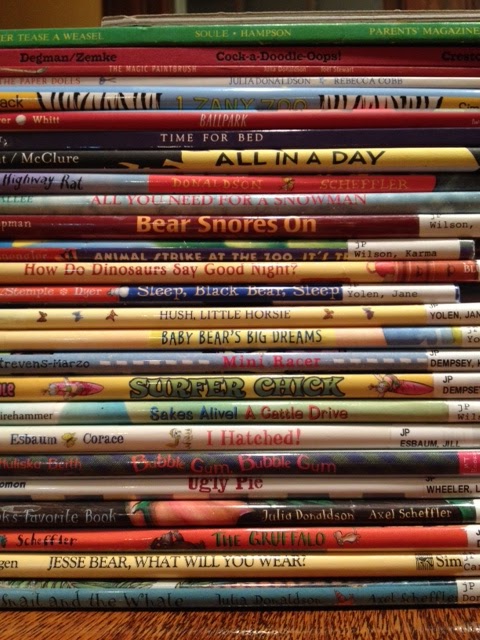
I wanted my website to reflect childhood innocence. My husband photographed an old typewriter and some Hummel-like bookends that reflected that innocence and I chose colors from those photos.
STEP 11 - Pick the Pages
Which pages did I want on my website? I chose the basics: a Home page, About Me, Books and Magazines, News, Extras, and Contact Me. (On some of the pages, I found that the amount of info was too much, so I made subpages.) Christy's website had used a plug-in to add colorful boxes, and I added that app to my toolbox.
STEP 12 - Create Images and Words

STEP 13 - Get a Critique
I know what I don't know, and that includes what makes for an effective website. Christy Mihaly had enlisted the help of Lisa Amstutz to build her website, so I asked Lisa for a critique. She was reasonably priced and incredibly thorough - I am still working through her suggested changes!

STEP 14 - What about SEO?
Another thing that I hadn't a clue about was search engine optimization - how to get your website to pop up when a web search is done on your name. I asked Lisa for help with this as well.
STEP 15 - Now, PUBLISH!
Weebly guided me through connecting my website and my domain name, and I sent my website out into the world! Yes, I still have one section that is not completed (the "Extras"). I still have changes to make, and I know some errors have yet to be found, but I expect this will be ongoing. If you'd like to take a peek, you can find my website at:
If building a website is a goal of yours, then go for it!

Do you already have a website? Leave your address in the comments below. I'd love to take a look!