Showing posts with label website. Show all posts

Thursday, June 15, 2017

Working with Images in Websites and Blogs

By Leslie Colin Tribble

In our visually-conscious world, images are king. Think Pintrest, blogs and websites - what do they have in common? Compelling images. Anyone who has a website or blog sooner or later is going to need to find and manipulate images to enhance a post. If this is you, read on for some tips on utilizing images to spruce up your online presence.

Unedited photo


Finding Images
There are lots of sites on the Internet where you can find images to use on your website or blog. The trick is doing it correctly. In our archives, the Grog has some posts about finding images (here and here). Pixabay has royalty-free images with no attribution requirements. One good tip I read is to block out some time and find as many photos as you can pertaining to your most used topics and download them all at once. Then you won't have to spend time finding just one photo for a particular post. Be sure to keep all photos in a folder with a good, detailed names and any attribution so you don't have to try and find it later.

Cropped, and edited for brightness, contrast, and color saturation. Plus I added a watermark.

What to do With Those Images
Photos are easy to resize and enhance with a good photo editor. If you don't want to invest in Photoshop, try some free online editors such as PicMonkey, Gimp, and Photo Pos Pro. If you know a little about photography and editing, a more complete program such as Gimp might be just the ticket. If you're more like me and simply want to spruce up an image and give it a little resizing, PicMonkey is easy to use and saves images right to your computer.

I used PicMonkey on all the images for this post.
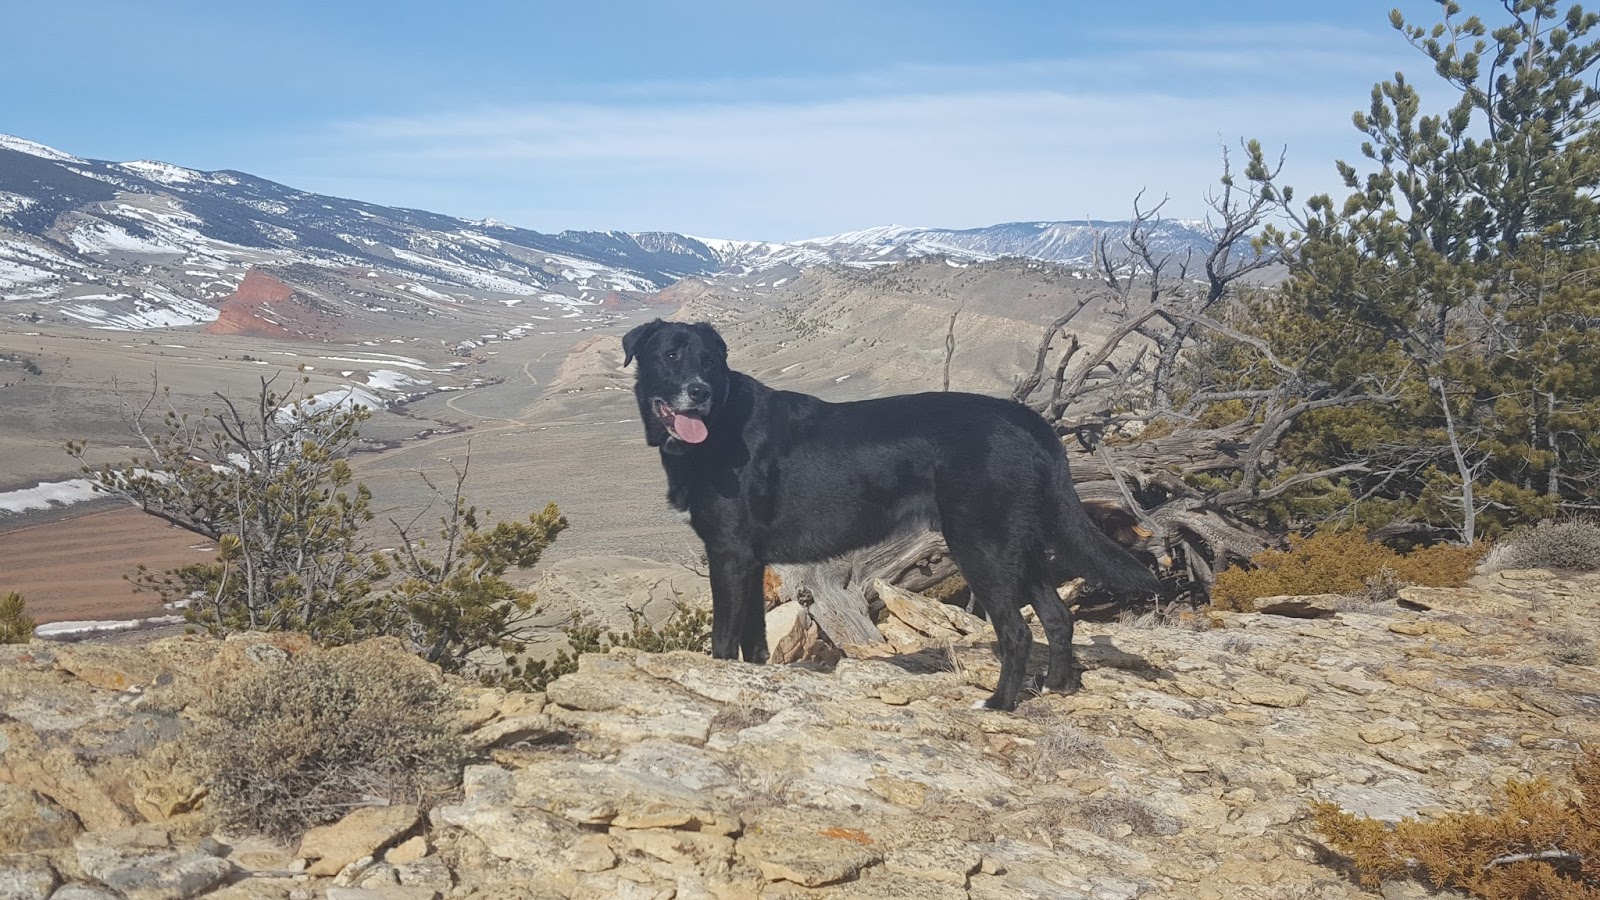
Unedited

With PicMonkey, there's an auto adjust tab that will brighten and sharpen a photo. If you want to do it yourself, there are tabs for that as well. Generally speaking, you want a photo to complement your post, not overwhelm it. Resizing images to a width of 300-800 works best. You want them to be the same width as your post or slightly smaller. If you're using PicMonkey, click "Keep Proportions" otherwise your image will be distorted.

Cropped and auto adjusted

Once you have your image edited, you can save it to your computer then upload to your WordPress Media Library where you can access them for future use. Having images ready to go saves a lot of time and frustration.

Unedited

I used all sorts of fancy editing to enhance this little marmot!

You should caption your images using some good SEO (Search Engine Optimization) terms. Remember, Google can only search text so if you don't caption your images, Google won't find your post as easily. Also, don't lead with an image for the same reasons. Lead with an attention-grabbing headline and tagline, followed by the image.

Most of these tips came from a website I've found to be incredibly useful for setting up a blog and website. Amy Lynn Andrews has been helping newbies develop an online presence for years and I find her work thorough and easy to follow.

Don't be intimidated by using good quality images in your posts. It's easy to do and fun!

Monday, April 24, 2017

15 Steps to Building My Children's Author Website ~ by Patricia Toht

In January, 2016, I made a list of writing resolutions. #1 was to build my author website.
Image by medithIT
Here's how I went about it:

STEP 1 - Secure the Domain 
Possibilities abound for securing a domain name, but I decided to go with the granddaddy, GoDaddy. My last name is unusual, so it was readily available. If you have a more common name, you may need to get creative - add your middle initial or name, or add "books" or "author" to your name.


STEP 2 - Do Some Research
I spent time studying other authors' websites. Many were built by website designers who, for a fee, can transform your vision into a technical reality. But in the end I decided that, a) the price was prohibitive for me, and b) I wanted the ability to change things on my website without incurring additional charges. That led me to...


STEP 3 - Buy a Book 
I decided to look into Wordpress. Like GoDaddy, Wordpress is a platform with longevity and one that offers a lot of options for customization. It came recommended in many articles that I read about author websites. 


STEP 4 - Procrastinate


*************

In January, 2017, I made another list of writing resolutions. The first resolution was to finish the resolutions I vowed to do in 2016. So, back to the website!

STEP 5 - Do Even More Research 
Despite reading the entire, most of, half of the book, I knew little about building and hosting a Wordpress site. It was research time again. I filled out spreadsheets about hosting sites, costs, themes, etc., but still felt stuck. I resorted to an online quiz, which pointed me to a particular host + Wordpress, and a suggestion to use their overlay which would make design "simple." Well, "simple" wasn't what I encountered. I worked on it for days and made NO progress!

STEP 6 - Throw a Tantrum


This may have involved tears, lots of self-deprecation about my small brain, a call to cancel the web hosting order, soothing (but unappreciated) words of comfort from my husband, and a large glass of wine. 

STEP 7 - Phone a Friend
I called my son, who knows a few things about tech stuff.


STEP 8 - Pick a Winner! 
I decided on weebly.

STEP 9 - Select a Theme
A theme forms the basic skeleton for how your website will look. My friend and fellow grogger, Christy Mihaly, has a weebly-built website that I really like, so I begged her to share the theme's name with me, and she generously did.


STEP 10 - Choose Color and Overall Mood
I wanted my website to reflect childhood innocence. My husband photographed an old typewriter and some Hummel-like bookends that reflected that innocence and I chose colors from those photos.

STEP 11 - Pick the Pages 
Which pages did I want on my website? I chose the basics: a Home page, About Me, Books and Magazines, News, Extras, and Contact Me. (On some of the pages, I found that the amount of info was too much, so I made subpages.) Christy's website had used a plug-in to add colorful boxes, and I added that app to my toolbox.

STEP 12 - Create Images and Words
This part took quite a bit of thought and editing. I already had lots of images to use, so it was a matter of choosing the right ones. As for information, of course I wanted to include my books, but what else? Each bit of text was rewritten several times. In fact, I'm still tweaking.

STEP 13 - Get a Critique
I know what I don't know, and that includes what makes for an effective website. Christy Mihaly had enlisted the help of Lisa Amstutz to build her website, so I asked Lisa for a critique. She was reasonably priced and incredibly thorough - I am still working through her suggested changes!


STEP 14 - What about SEO?
Another thing that I hadn't a clue about was search engine optimization - how to get your website to pop up when a web search is done on your name. I asked Lisa for help with this as well.


STEP 15 - Now, PUBLISH! 
Weebly guided me through connecting my website and my domain name, and I sent my website out into the world! Yes, I still have one section that is not completed (the "Extras"). I still have changes to make, and I know some errors have yet to be found, but I expect this will be ongoing. If you'd like to take a peek, you can find my website at: 


If building a website is a goal of yours, then go for it! 
Don't hesitate to ask for help. Don't be afraid to start over if needed. Experiment. Tweak. And I recommend a glass of wine, too.

Do you already have a website? Leave your address in the comments below. I'd love to take a look!